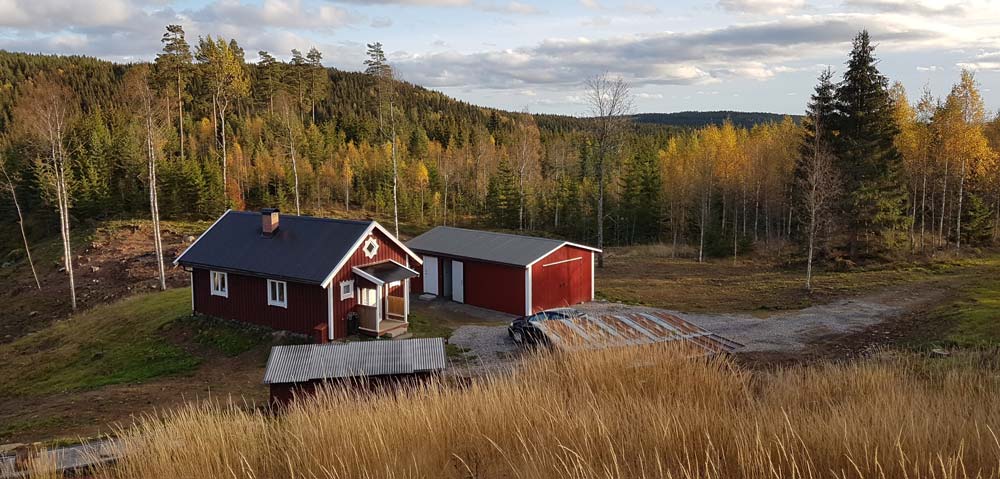
Summer 2019 at Kullfallet

This summer I got busy with clearing a big area of forest near my house, and digging down pipes in the ground. I also finished many smaller projects, including an energy meter, doors for my garage and a new front yard.
While waiting for the snow to melt so I could move into my cabin, I designed a power and energy meter for my solar power system. I ordered cheap parts from China through AliExpress.com.
The system is based on an Arduino Uno single board microcontroller, which is connected with a small color LCD display, and uses the I2C bus to read sensors. I used two INA226 chips to sense voltage and current through current shunts. I mounted one current/voltage sensor on the outgoing electricity to the power inverter, and one on the incoming electricity from the solar charger. The idea was to show power and energy values in real time, and also to show the charge level of the batteries. I used a MCP 9808 chip to sense battery temperature.
I had to create the whole graphics system from scratch, since there is no high quality graphics API available. So I got busy writing programs in C.
The charge level turned out to be tricky to calculate. My original idea of keeping track of the energy in/out balance didn't work well. So I reverted back to checking battery voltage level. However, battery voltage changes quickly at high currents, so I had to filter out transients, to give more realistic values.
I made the Arduino log all measurements on a memory stick, so I could look at the energy history later on my laptop computer.
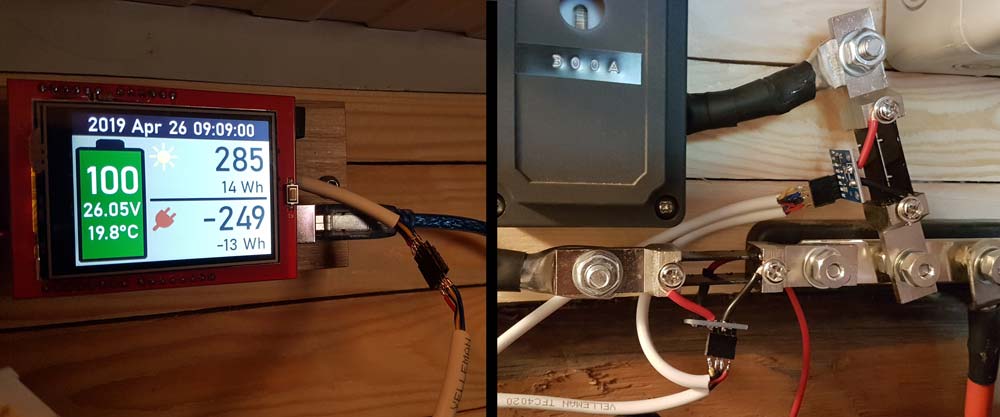
To the left you can see the energy meter, showing 100% battery charge, 26.05 V battery voltage, and 19.8 C battery temperature. 285 W of solar charge power, with a total of 14 Wh for the day. 249 W of power inverter consumption, with 13 Wh consumed that day. Figures are low because it is early in the day.
To the right are the two current shunts with the connected sensors, and the I2C cables leading to the energy meter.
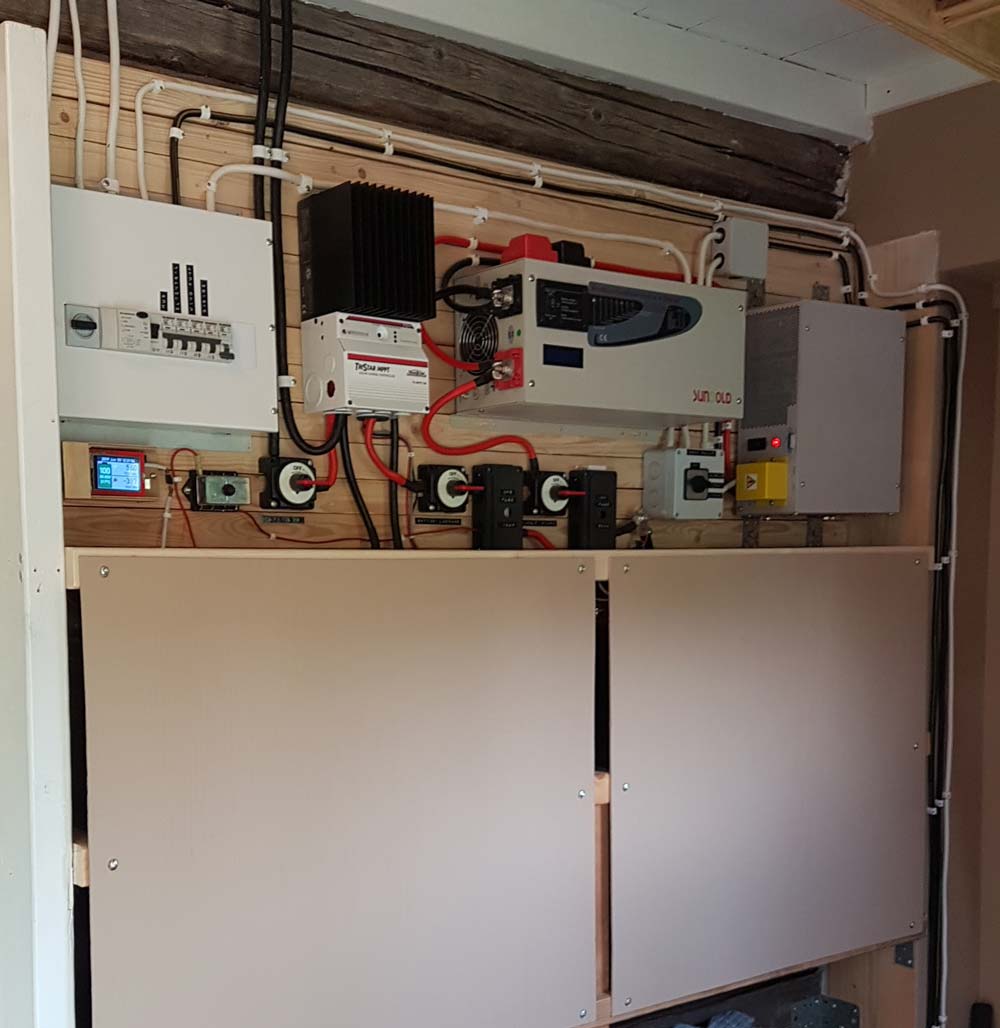
I installed 230 VAC electricity into the workshop and garage, with several power outlets and ceiling lights. I also mounted a special connector in the garage that allows me to power the entire house from an external 230 VAC source, and at the same time charge the batteries. This way I can manage fine in weeks with lots of rain by turning on my portable generator.
Overall it turned out to be a good system. I would keep track of battery level throughout the day, so I could avoid deep discharges. My rule of thumb was to start the generator when it dropped below 80%. On normal days it would rarely drop below 90%. The less you discharge lead-acid batteries, the longer they will last.
I covered up the battery area with panels, and finally the electric central looked clean and nice.
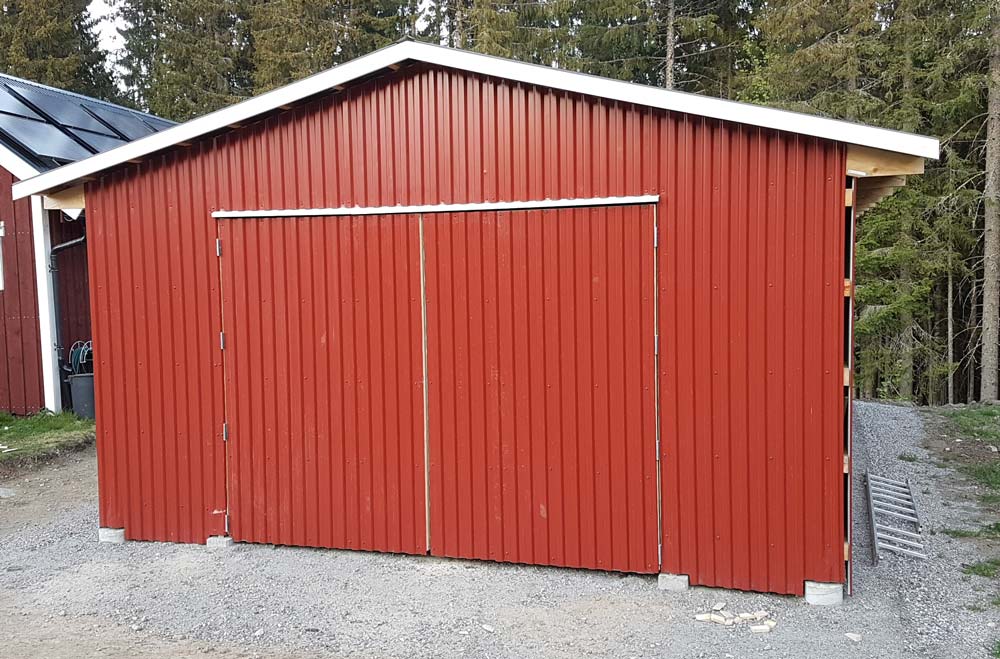
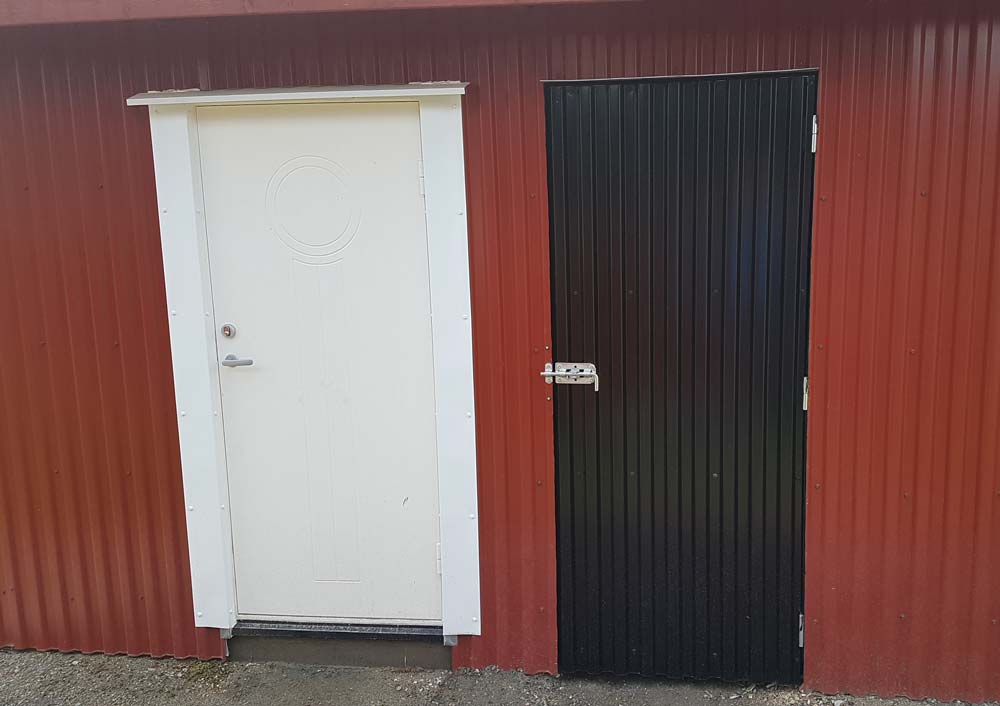
Garage doors
Missing from last year's garage construction was proper doors, so I got busy assembling wood and sheet metal for the task. Door handles were mounted later.
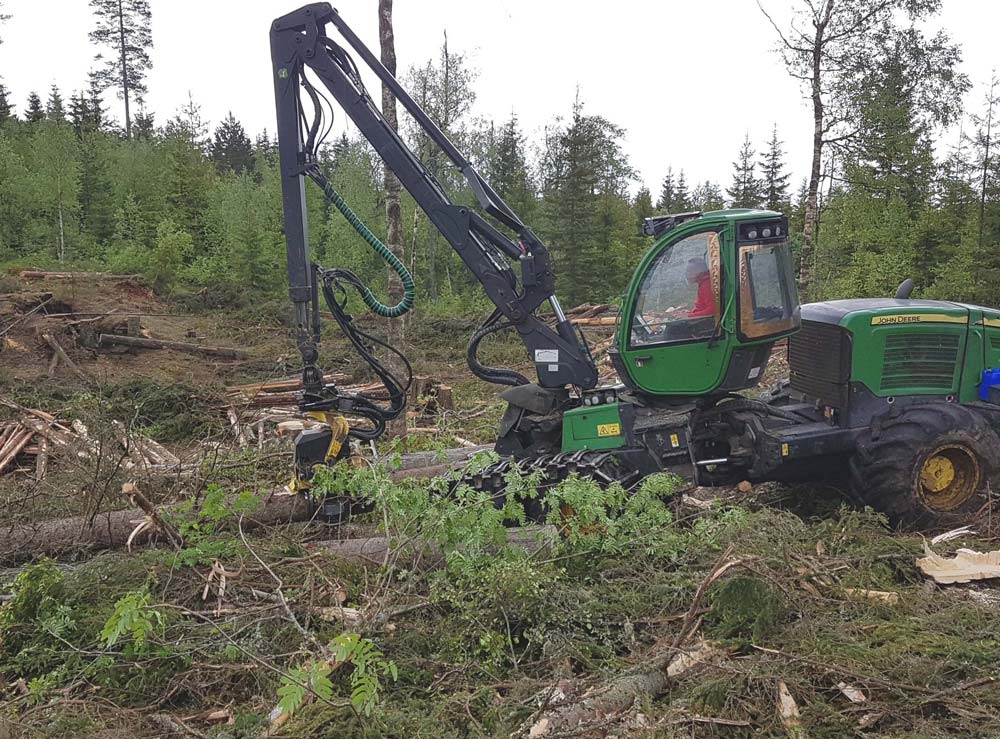
Clearing some forest
Several huge spruces had been towering over my house for a long time, making me worried about what damage strong winds could do, so I decided to have them cut down. My neighbor Ove has a John Deere harvester, and he kindly offered to help me. To make some well needed money for myself, and to make it worth his time, I expanded the project to about 5000 m2 of the forested area closest to my house. It is amazing how fast this machine can cut down and de-branch a large tree.
This opened up a huge area at the back of my house, and a great view of the mountains ahead. But also resulted in lots of rubble.
![]()
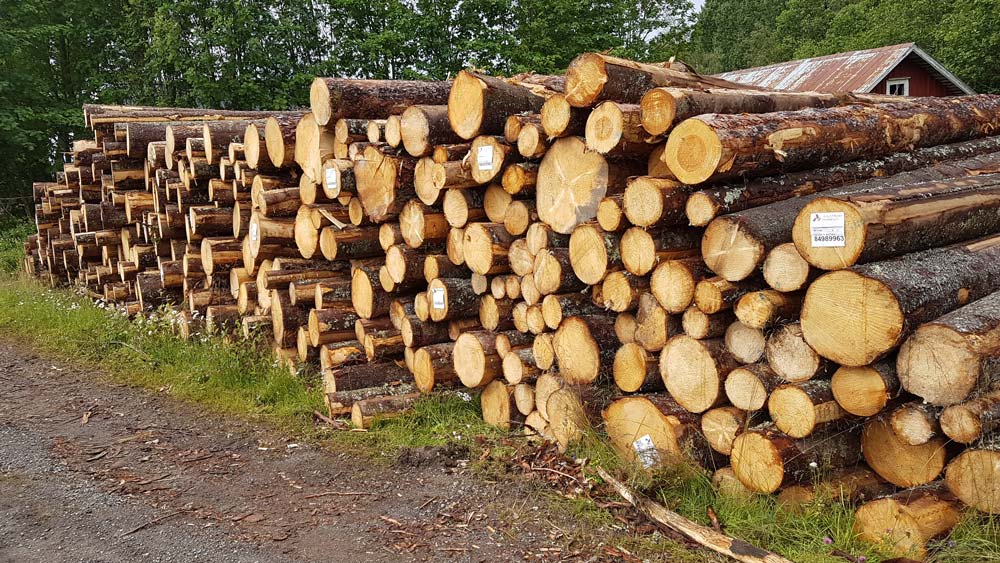
A few days later the timber was collected and piled up near a more accessible road.
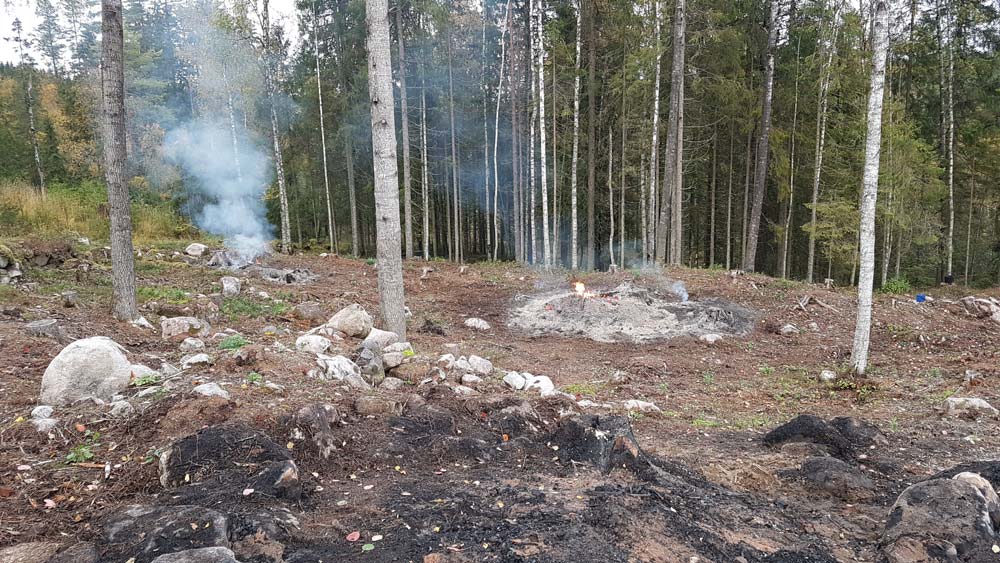
The cleanup job was an enormous task. If this had been remote forest, I would have just left it as is, but since it is so close to my house, I wanted it to be tidy. I got a little help by the timber collector guy, but then spent a month making 11 huge piles of branches and rubble, which I later burned.
Excavator projects
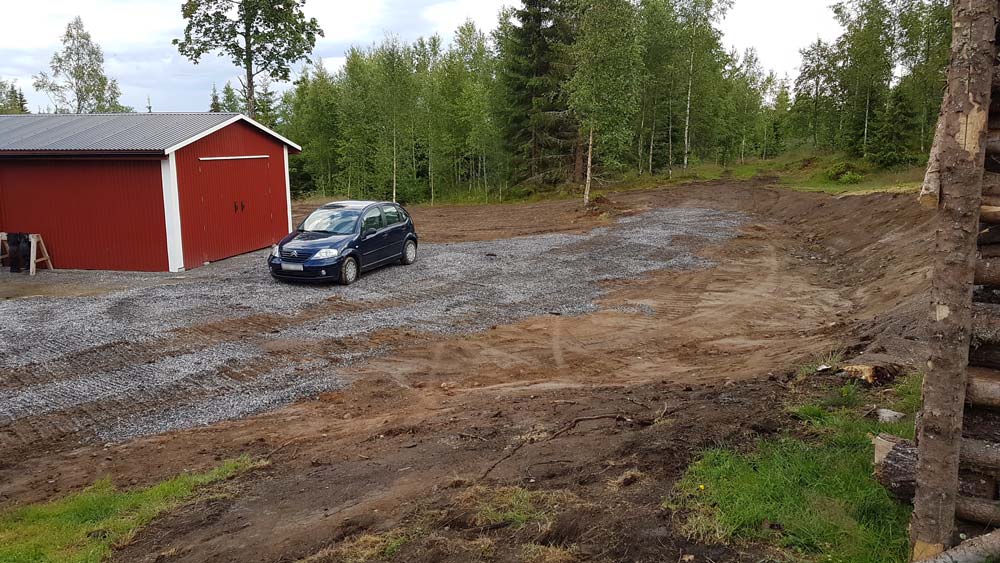
My friend Mats is an excellent back-hoe driver, and he came to do several projects for me. First we leveled out the area front of my house to create more space for parking.
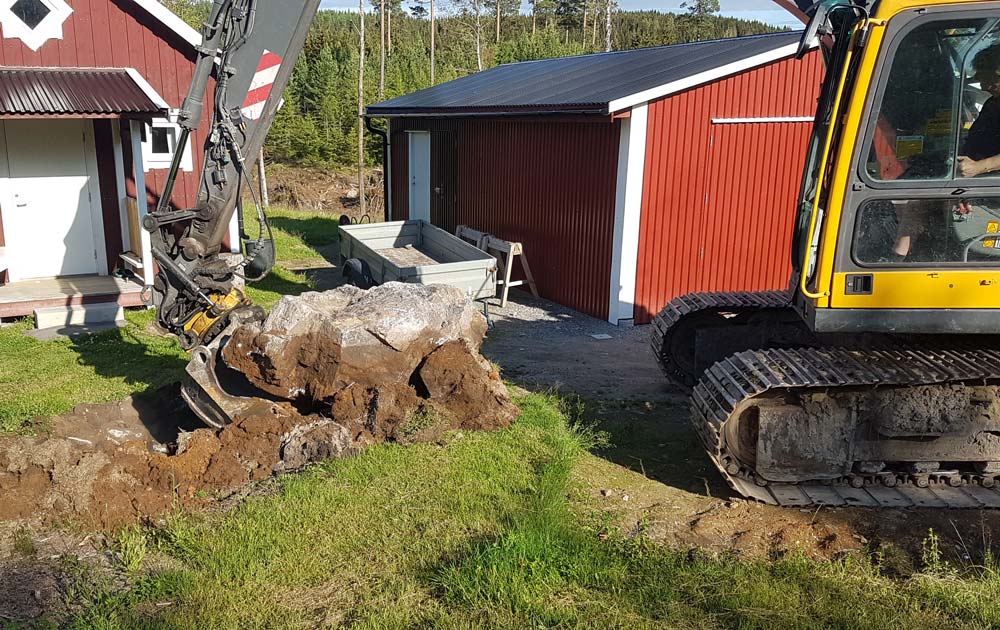
Then Mats got busy with some other projects, so he suggested that I could drive the back-hoe myself. This was a challenge. The tracks were controlled by two pedals. By giving them different speeds and directions you could move the machine forward and make turns. The arm was controlled by two levers, where front-back controlled one actuator, and left-right another, so in total four degrees of freedom. On the top of each lever was a thumb-roller control to turn and tilt the tip of the hoe. Took me a few hours to program all of this into my brain. Finally I managed to move some serious amounts of dirt to the right places.

When Mats came back he did the finishing touches that only a pro can do, and I was very happy with a great front yard with plenty of space.
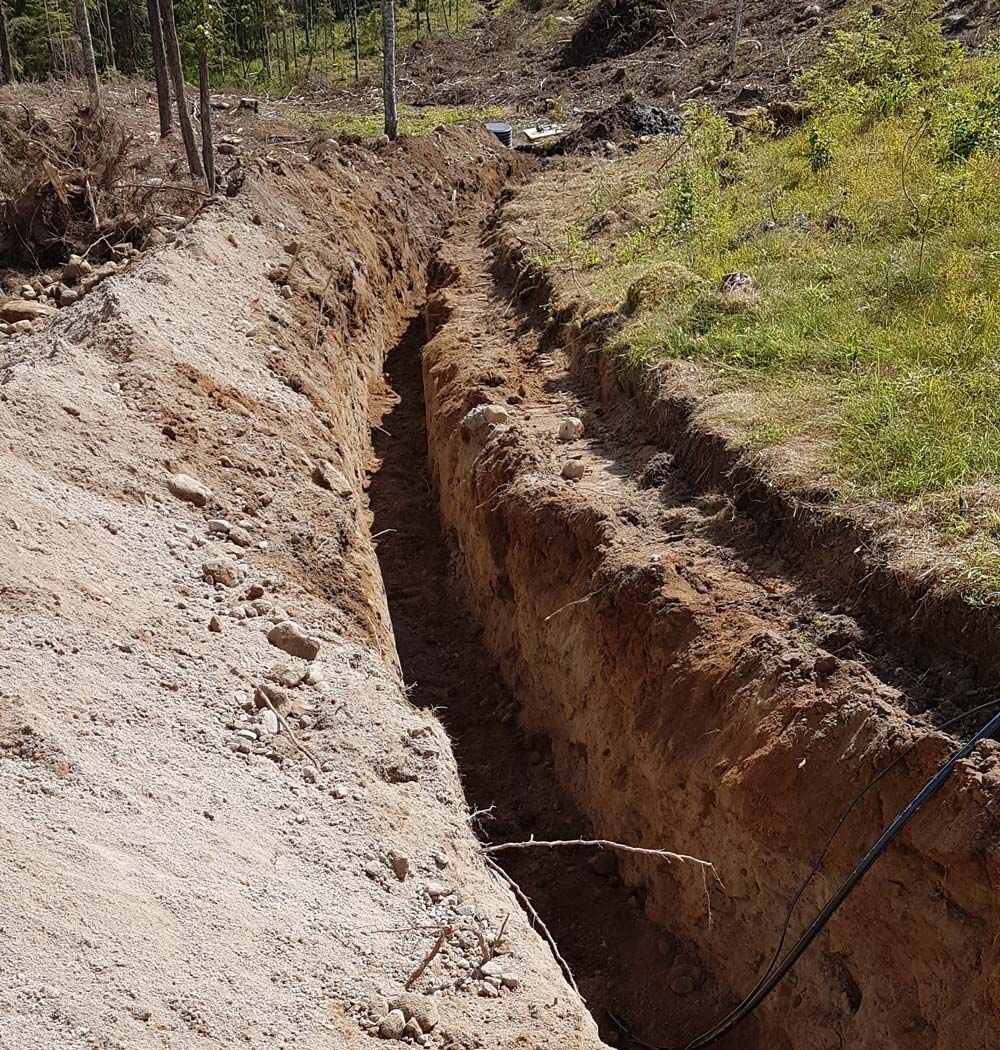
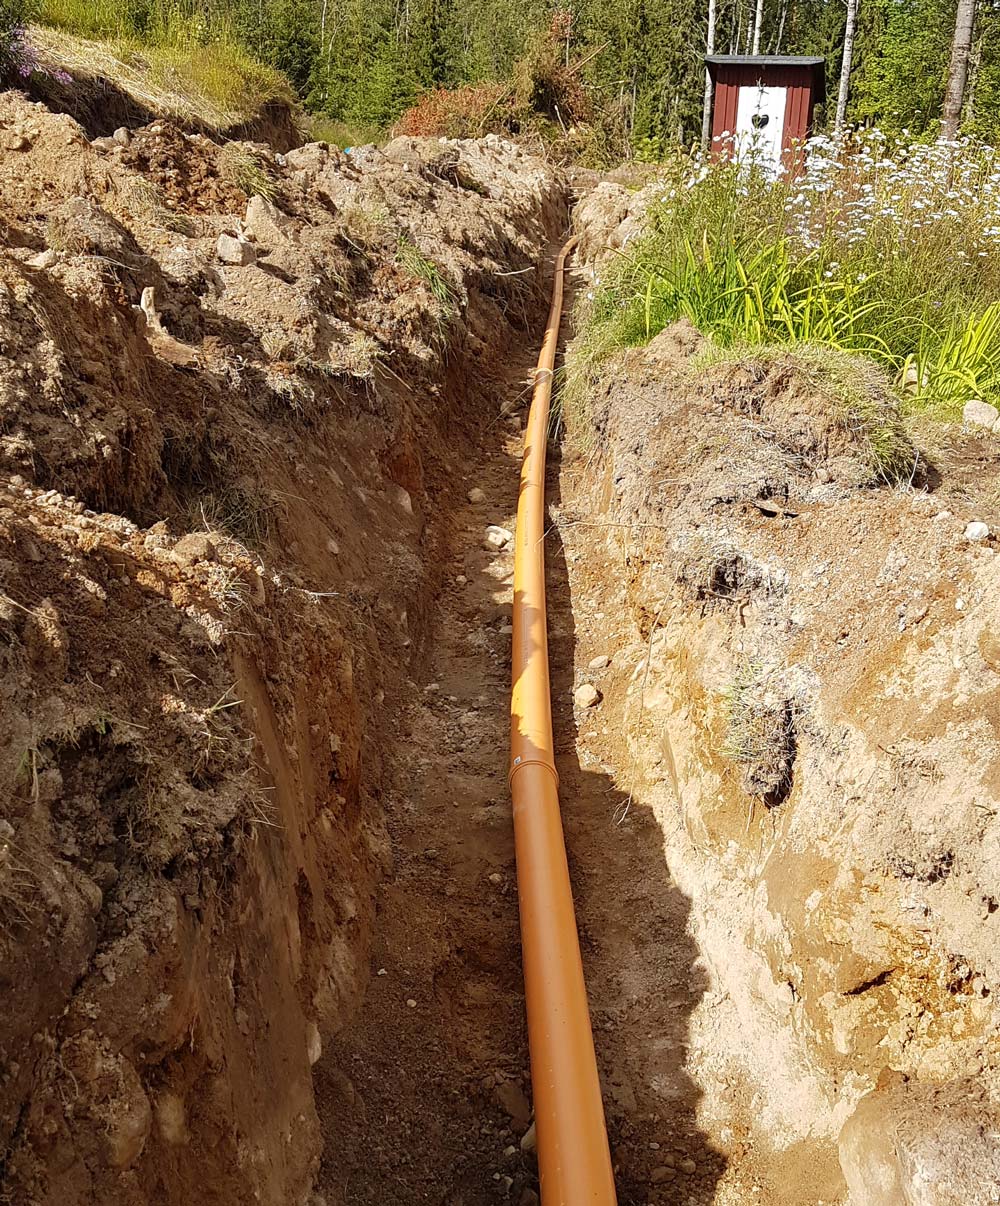
Next Mats dug the 1.8 m deep ditch for the pipe from my house to the well. It was a bit tricky, because it was 65 m of very steep terrain. At the bottom you can see the 32 mm PEM pipe and the power cable for the well pump.
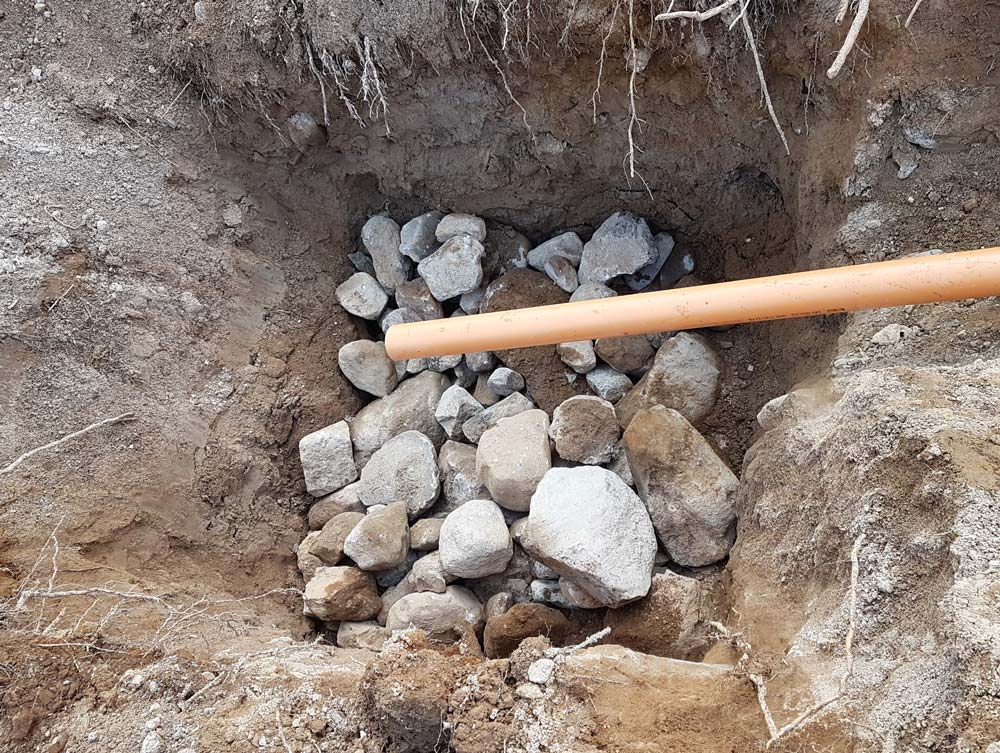
Then it was time to make a more permanent solution for the house gray water (kitchen, shower, washing machine). We dug a 2 x 2 meter area 2 m deep, and I filled it with rocks to have the water seep well into the ground. Only partially filled in the picture below.
Then a 50 m ditch for the 110 mm sewage pipe, leading from the house.
Smaller projects
I decided to freshen up my sad looking old stove. So I brushed the corrosion away, and applied a mix of water glass and soot to give it a fresh surface. For footings I used concrete cylinders on wooden bases, all painted black.

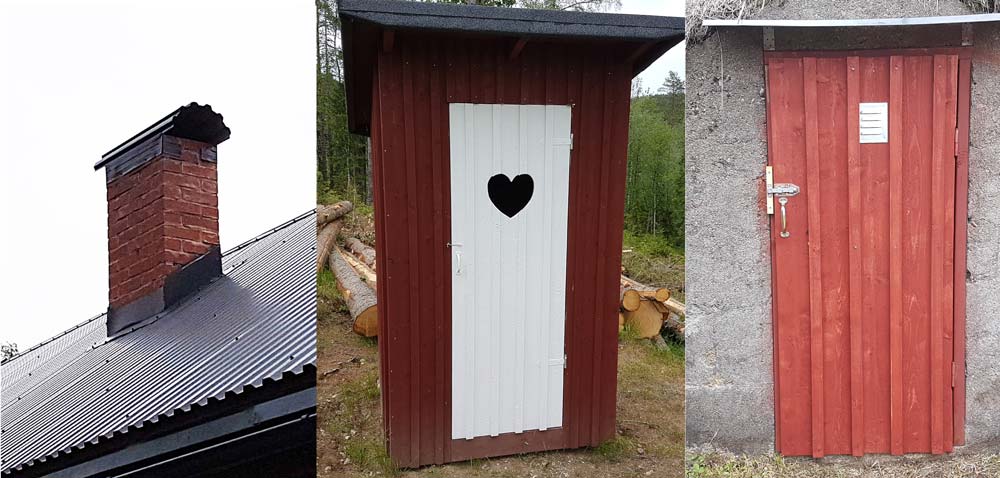
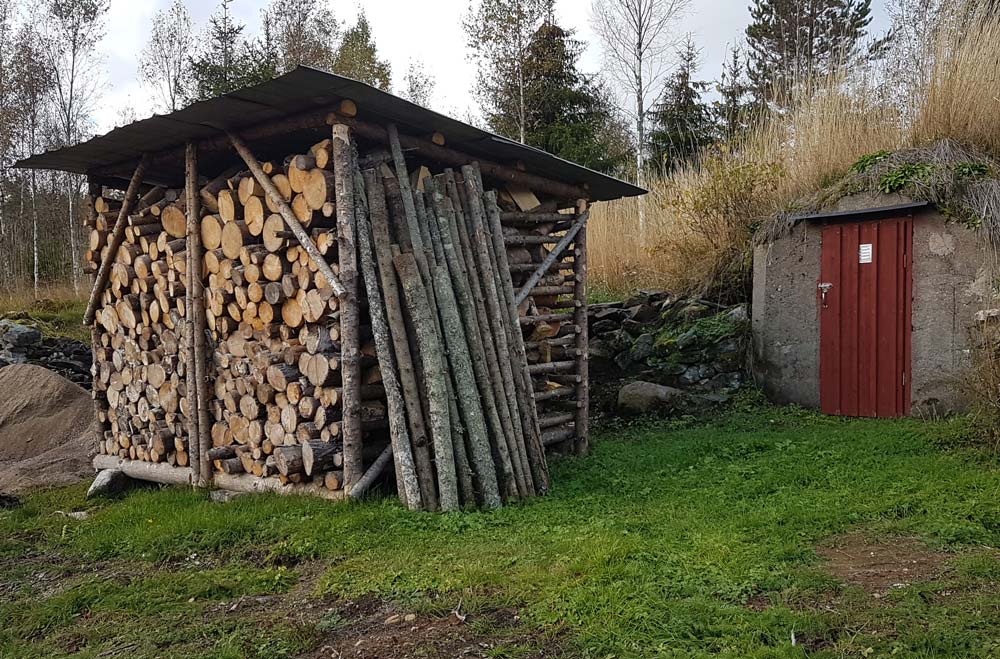
I rebuilt the doors for the outhouse and cellar, and mounted a protective sheet of corrugated steel on the chimney to keep rain and snow away.
I built a proper cover for the well. I made it out of wood, with a bottom of foam to insulate from the cold in the winter, which I coated underneath with a sheet of plastic to prevent impure water to enter the well.

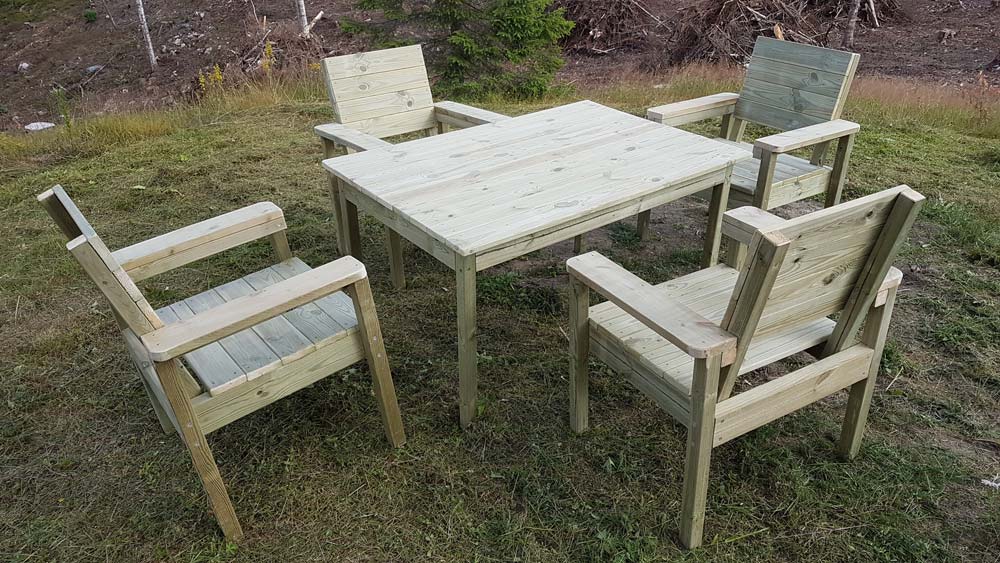
The cleared forest gave me a great new view of the rolling hills east. I built some proper garden furniture, so I could enjoy it in the evenings.
![]()
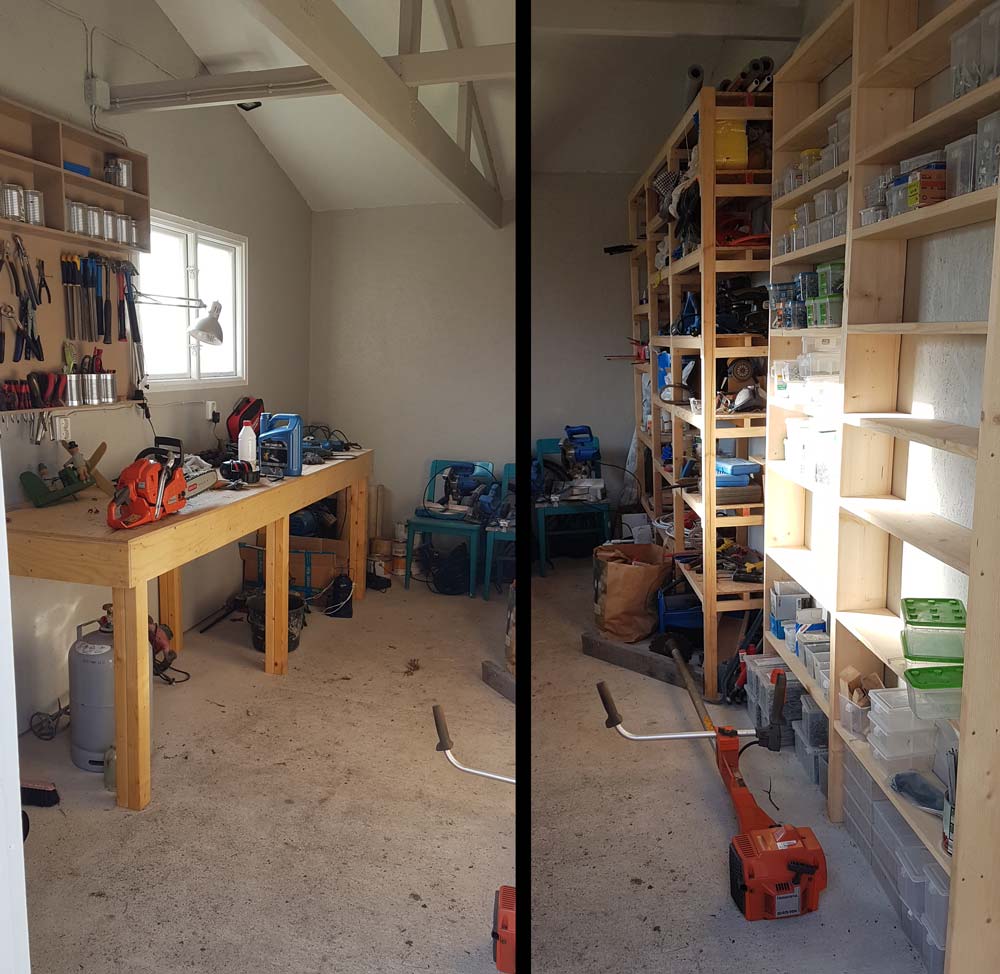
For the workshop, I insulated the ceiling with 95 mm mineral wool, so it can be kept warm in the winter, installed double glass windows and painted the walls gray. I built a sturdy table from leftover construction wood, and put together a tool organizer wall, plus a few shelves for all my parts.
The clearing of the forest left me with lots of extra firewood, so I quickly improvised a temporary storage solution from some logs and old roof sheets.
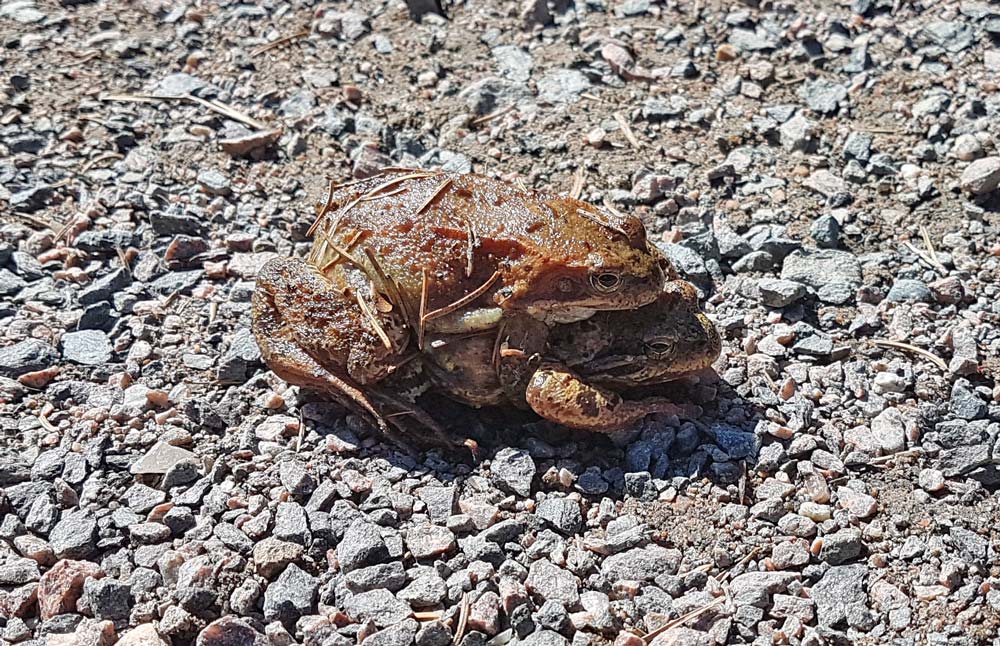
Nature
I also took some time to enjoy nature on my property.


Summary
To clear up that forest was a big job, but I am happy it got done. Compare the before and after pictures.